Introduction
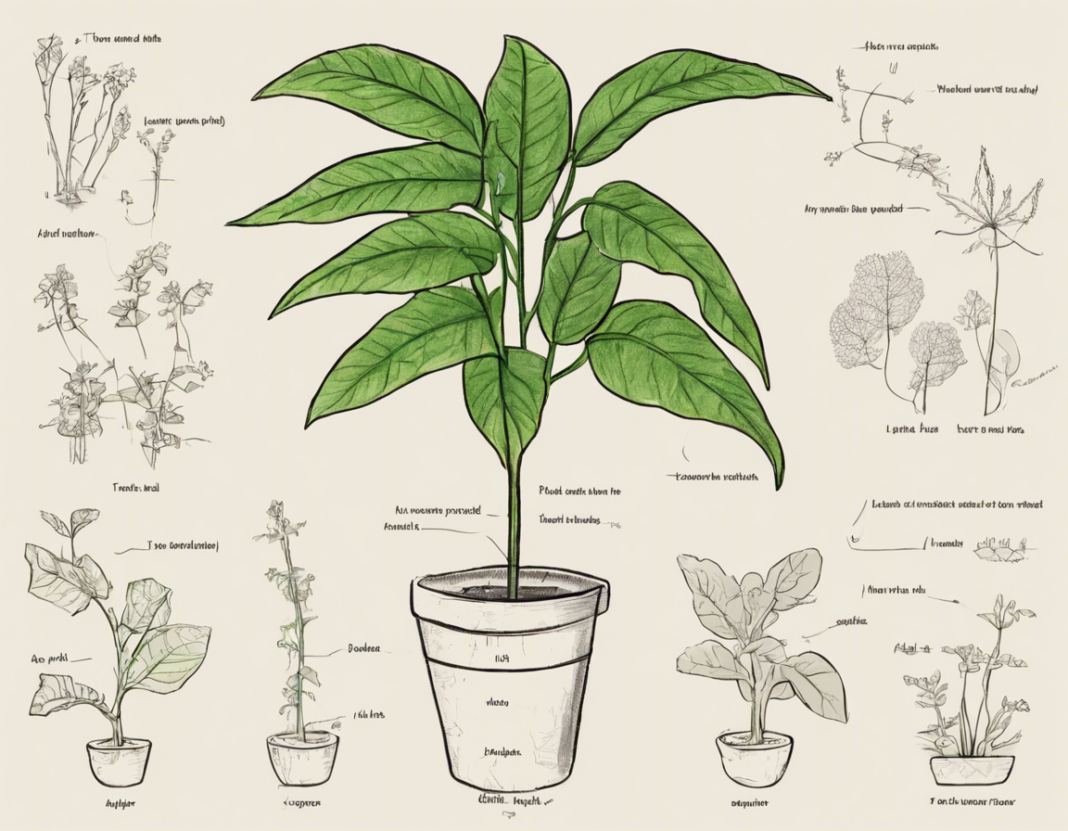
Drawing and labeling a plant’s parts is an essential skill for students studying biology, botany, or simply curious about the natural world. Understanding the structure and function of a plant’s parts is crucial for grasping its biology and ecosystem role. In this comprehensive guide, we will walk you through the step-by-step process of drawing and labeling a plant’s parts accurately. From the root system to the flower, each part serves a unique purpose, and by the end of this guide, you will have a detailed illustration with all parts correctly labeled.
Materials Needed
Before you begin drawing and labeling a plant’s parts, it’s essential to gather the necessary materials. Here’s what you’ll need:
- Drawing paper
- Pencils (preferably a variety of shades for detailing)
- Eraser
- Ruler
- Sharpener
- Colored pencils or markers (optional for adding color to your illustration)
- Plant anatomy reference guide or textbook
Step 1: Drawing the Plant
-
Start with the Root System: Begin your illustration by drawing the root system of the plant. Roots are usually located underground and serve to anchor the plant, absorb water and nutrients, and store food.
-
Draw the Stem: Next, draw the stem of the plant. The stem supports the plant, transports water and nutrients between the roots and leaves, and can store food.
-
Add Leaves: Draw the leaves of the plant. Leaves are the primary site of photosynthesis, where plants convert sunlight into energy. They also help regulate water loss through transpiration.
-
Illustrate Flowers (if applicable): If your plant produces flowers, draw them next. Flowers are essential for reproduction in plants and can vary greatly in size, shape, and color.
Step 2: Labeling the Plant’s Parts
Now that you have drawn the basic structure of the plant, it’s time to label each part correctly. Use your reference guide or textbook to ensure accuracy in labeling.
-
Label the Root System: Identify and label the primary parts of the root system, such as the main root (taproot), lateral roots, root hairs, and root cap.
-
Label the Stem: Move on to labeling the stem, including the nodes (points where leaves are attached), internodes (segments between nodes), buds, and vascular bundles responsible for transporting fluids.
-
Label the Leaves: Label the parts of a leaf, such as the blade, veins, petiole (leaf stalk), and stipules (small leaf-like structures at the base of the petiole).
-
Label Flowers (if applicable): If your plant has flowers, label the essential parts, including the petals, sepals, stamen (male reproductive part), pistil (female reproductive part), and ovary.
Step 3: Adding Detail and Color (Optional)
To enhance the clarity and detail of your illustration, consider adding shading, texture, and color to different parts of the plant. This step is optional but can make your drawing more visually appealing and informative.
-
Shading and Texture: Use a variety of pencil shades to create depth and texture in your drawing. For example, you can add shading to indicate areas of shadow or use cross-hatching to show texture.
-
Coloring: If you choose to add color to your illustration, use colored pencils or markers to differentiate between parts of the plant. For instance, you can color the leaves green, the petals of the flower in their respective colors, and the roots in a different shade.
Frequently Asked Questions (FAQs)
- What are the main parts of a plant that should be included in a drawing?
-
The main parts of a plant that should be included are the root system, stem, leaves, and flowers (if applicable).
-
Why is labeling plant parts important in biology?
-
Labeling plant parts helps students understand the anatomy and function of each part, aiding in their comprehension of plant biology.
-
How can I ensure accuracy when labeling plant parts?
-
Use a reliable plant anatomy reference guide or textbook to cross-reference and verify the names and functions of each plant part.
-
Are there any online resources available for learning about plant anatomy and drawing?
-
Yes, there are various online resources, such as botanical websites, educational videos, and interactive plant anatomy tools that can aid in learning about plant parts and drawing.
-
Can I use digital tools or software for drawing and labeling plant parts?
- Yes, there are several digital drawing tools and software programs available that can be used for creating detailed plant illustrations and labeling parts.
Drawing and labeling a plant’s parts is not only educational but also a rewarding activity that deepens your understanding of the natural world. By following this guide and paying attention to detail, you can create a detailed and informative illustration of a plant’s anatomy. Practice regularly, explore different plant species, and continue to enhance your drawing and labeling skills for a comprehensive understanding of plant biology.
