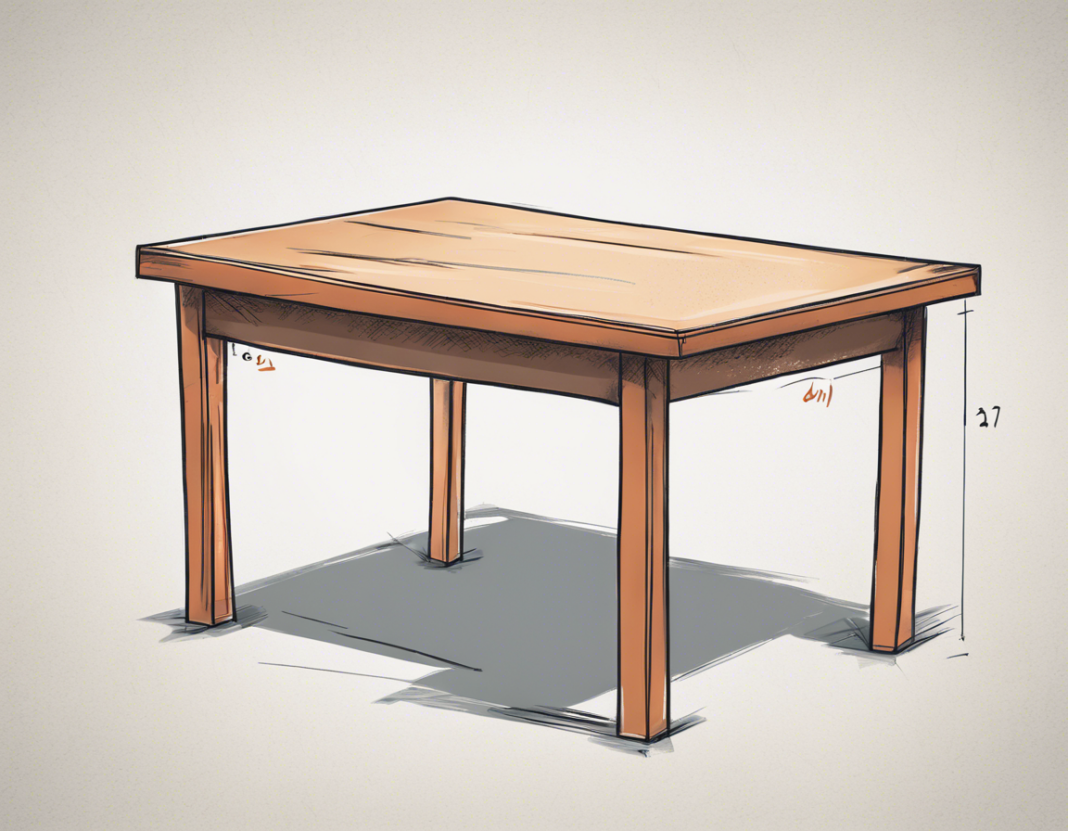
Are you looking to enhance your drawing skills and master the art of drawing a table? Drawing realistic objects can be a challenge, but with the right techniques and practice, you can bring your drawings to life. In this comprehensive guide, we will take you through a step-by-step process on how to draw a table, including tips, tricks, and common mistakes to avoid. Whether you are a beginner or looking to improve your existing drawing skills, this guide will help you create stunning table drawings with ease.
Materials Needed:
Before we begin, let’s gather the materials you will need to draw a table:
- Drawing paper: Choose a good quality paper that can withstand different drawing techniques.
- Pencils: Have a range of pencils from 2H to 6B for sketching, shading, and detailing.
- Eraser: Both a kneaded eraser and a regular eraser for correcting mistakes.
- Ruler: To ensure straight lines and proportions.
- Reference Image: Have a picture of a table for inspiration and reference.
Step 1: Sketching the Basic Shape
Start by lightly sketching the basic shape of the table using a hard pencil, such as 2H. Pay attention to the proportions and angles of the table. Use simple geometric shapes like rectangles to outline the tabletop and legs. Remember, this is just a rough sketch, so don’t worry about making it perfect.
Step 2: Adding Details
Once you are satisfied with the basic shape, start adding details to your table. Add in any distinguishing features such as carvings, patterns, or decorations on the table. Pay attention to the edges and corners, ensuring they are crisp and defined. Use a softer pencil like 2B for this step to create depth and dimension.
Step 3: Shading and Texturing
Now it’s time to add shading and texture to your table to make it look more realistic. Identify the light source in your drawing and shade the areas that would be in shadow accordingly. Use hatching and cross-hatching techniques to create different tones and textures on the table’s surface. Pay attention to the direction of your strokes to give a sense of form and volume to the table.
Step 4: Refining and Finalizing
Once you have shaded and textured your table, take a step back and assess your drawing. Make any necessary adjustments to the proportions, details, or shading to ensure everything looks cohesive. Use your eraser to clean up any smudges or stray marks. Add any final touches or highlights to enhance the realism of your table drawing.
Tips for Drawing a Realistic Table:
- Study Different Tables: Look at various tables to understand their shapes, styles, and details.
- Practice Regularly: The more you practice drawing tables, the better you will become.
- Use a Variety of Pencils: Experiment with different pencil grades to achieve varying tones and textures.
- Pay Attention to Light and Shadow: Proper shading is key to creating a realistic-looking table.
- Take Breaks: Sometimes stepping away from your drawing and coming back to it with fresh eyes can help you spot mistakes or areas for improvement.
Common Mistakes to Avoid:
- Overlooking Proportions: Ensure the legs and tabletop are in proportion to each other.
- Ignoring Details: Adding details can elevate your drawing and make it more realistic.
- Inconsistent Shading: Make sure your shading is consistent throughout the drawing.
- Relying on Outlines: Avoid heavy outlining as it can make your drawing look flat.
Drawing a Table with Perspective:
To add depth and realism to your table drawing, consider incorporating perspective. This technique creates the illusion of three-dimensional space on a two-dimensional surface. Use vanishing points and converging lines to give your table a sense of depth and volume. Practice drawing tables from different angles and perspectives to master this technique.
Frequently Asked Questions (FAQs):
-
How can I make my table drawing look more realistic?
To make your table drawing look more realistic, focus on details such as textures, shading, and perspective. Pay attention to light and shadow to create depth in your drawing. -
What is the best way to practice drawing tables?
The best way to practice drawing tables is to start with simple shapes and gradually add details and textures. Study different types of tables and practice shading to improve your skills. -
Should I always use a reference image when drawing a table?
While using a reference image can be helpful, it’s also important to develop your observational skills. Try drawing tables from life to enhance your understanding of shapes, proportions, and details. -
How do I choose the right pencils for drawing a table?
Choose a range of pencils from hard (2H) to soft (6B) to achieve different tones and textures in your table drawing. Experiment with different pencil grades to see which ones work best for you. -
I struggle with perspective in my table drawings. Any tips?
Practice drawing tables from different perspectives, such as bird’s eye view or worm’s eye view, to improve your understanding of perspective. Pay attention to vanishing points and converging lines to create depth in your drawings.
In conclusion, drawing a table requires attention to detail, practice, and an understanding of basic drawing principles. By following the steps outlined in this guide, along with the tips and techniques provided, you can improve your table drawing skills and create realistic and captivating artworks. Remember to be patient with yourself, keep practicing, and most importantly, have fun with your drawing journey. Happy drawing!
